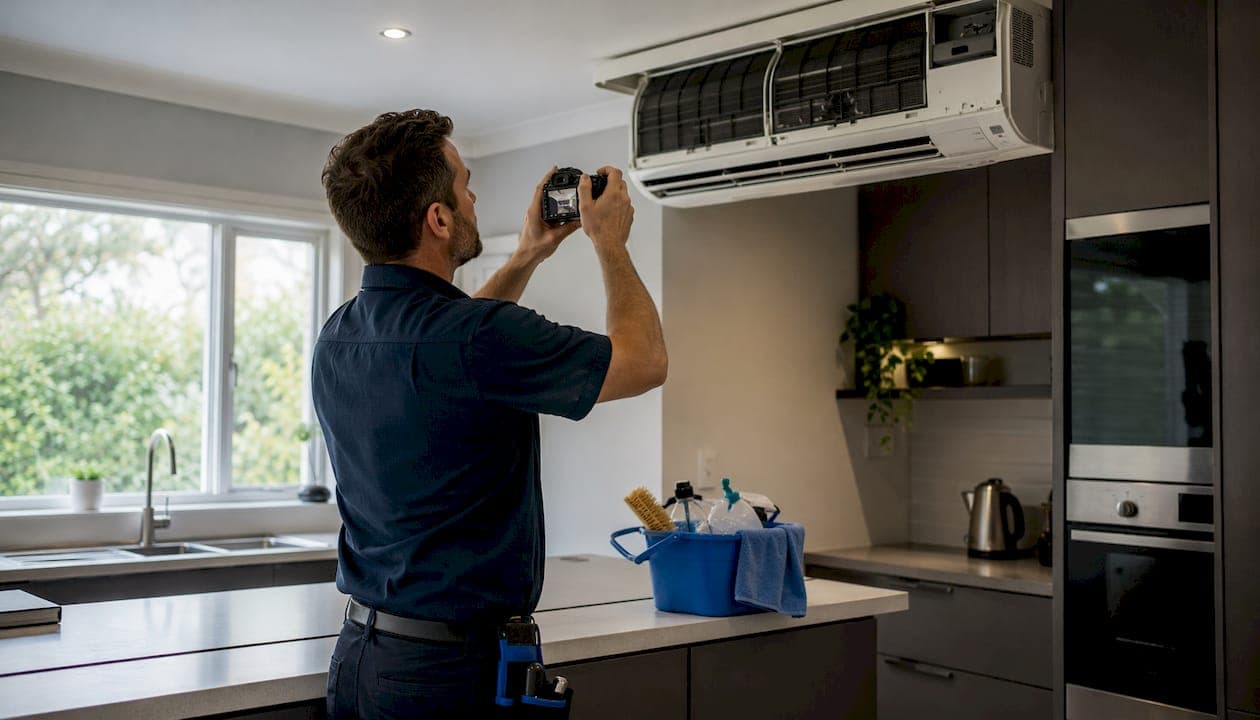
Capture matched, high-contrast before and after photos, process them on-device, brand them simply, then publish in the format your clients use: vertical for stories, square for feeds, and an interactive slider for your website. Visual proof of cleaning quality builds client trust and supports premium pricing. MyAirCare lets you attach those images directly to job records and trigger follow-up communications automatically, keeping photos part of the booking lifecycle from the first appointment onwards.
Three immediate actions:
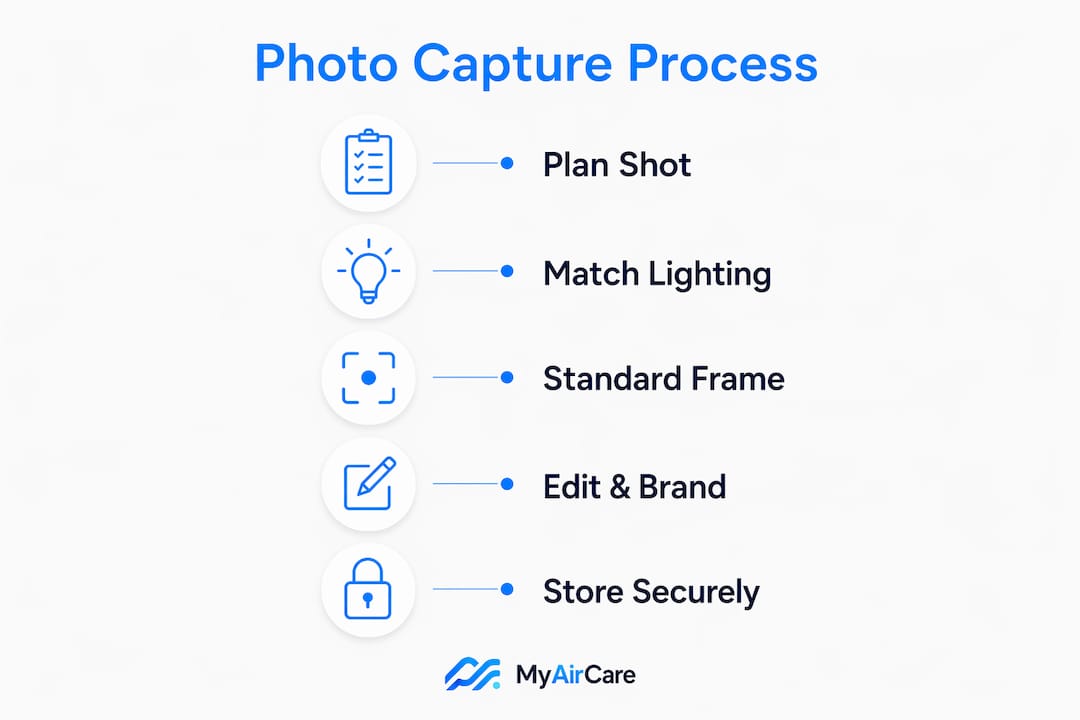
- Plan framing before you arrive: mark your position, decide the crop, note the format.
- Match lighting exactly between shots: same switches, same time of day, same lamp position.
- Store images securely on-device first, then upload only to approved platforms.
Table of Contents
- Why before and after photos matter for your business
- How to plan the shot before you arrive
- Camera settings and lighting that make dirt removal obvious
- How to frame shots for a credible before after comparison
- Which layouts work best on each platform
- How to edit and brand photos without losing credibility
- Privacy, consent and secure storage in Australia
- Step-by-step workflow: capture to publish
- Printable quick-start checklist for technicians
- Key takeaways
- Why standardised photos are worth the extra two minutes
- MyAirCare keeps your photos connected to every job
- Useful tools and sources
Why before and after photos matter for your business
High-contrast, honest comparison images give clients visible evidence of what they paid for. That matters because air-con cleaning is largely invisible work: the coil, the drain pan, the filter housing are all out of sight. A clear before after comparison makes the result tangible. It also supports upsell conversations, because a client who can see the state of their unit before cleaning is far more receptive to a maintenance schedule or a follow-up service.
Before-after cleaning documentation is standard practice in professional property cleaning. Applying the same discipline to air-con work positions a business as thorough and accountable, which is a direct signal of quality to prospective clients browsing your website or social feed.
How to plan the shot before you arrive
Preparation on-site takes less than two minutes and prevents the most common problem: a before shot and an after shot that do not align.
Pre-job checklist:
- Smartphone charged to at least 50%, storage cleared for full-resolution files
- Marker tape or a small adhesive dot to mark floor position
- Printed or digital client consent form
- Note in the job record with unit location and any fixed reference points
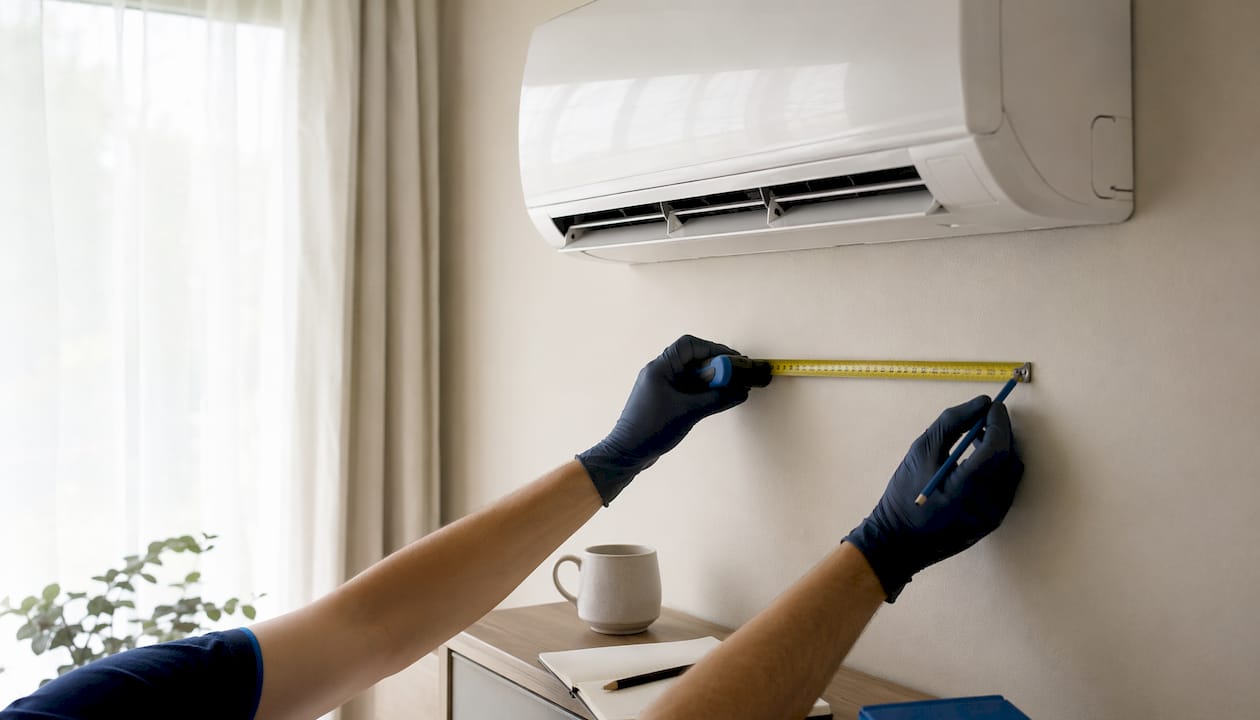
Mark a repeatable spot on the floor or note a fixed room feature (window frame, power outlet, wall junction) so field staff can return to the exact position on follow-up visits. Decide the crop and aspect ratio before you shoot: 1:1 for Instagram feed, 4:5 for higher portrait engagement, 9:16 for stories and Reels.
Pro Tip: Save the marker details in the MyAirCare job record so any technician returning to the property can match the frame without guessing.
Camera settings and lighting that make dirt removal obvious
Phone cameras are sufficient for professional-quality results when used correctly. Shoot at full resolution, lock exposure manually by tapping and holding the subject on screen, and turn off HDR if it smooths out the texture detail that makes grime visible.
Recommended settings:
- Highest available resolution; avoid screenshots of previews
- Grid overlay on for alignment
- Manual exposure lock on the unit face
- Portrait mode off (it blurs background detail that shows context)
- Digital zoom off; step physically closer instead
Keep the lighting state identical between shots: all room lights on, or all off. If natural light is the primary source, shoot both frames at the same time of day. Use a continuous LED work lamp when the unit is in a dark ceiling space, and position it identically for both shots.
Pro Tip: In harsh sunlight, hold a sheet of white paper or a small cloth between the light source and the unit to diffuse glare. Blown highlights hide dust and grime, which defeats the purpose of the before shot.
How to frame shots for a credible before after comparison
Exact camera position is the single biggest factor separating a professional comparison from an amateur one. If the angle shifts even slightly, the result reads as a perspective change rather than a cleaning outcome.
Alignment steps:
- Stand on the marked floor spot for both shots
- Use a tripod with a quick-release plate where ceiling height allows
- Align to a fixed feature: the edge of a vent, a wall corner, or a power outlet
- Shoot the before frame slightly wider than needed so you can crop to match the after frame precisely
- Use portrait orientation for wall-mounted splits; landscape for ducted return-air grilles
- Include the unit model label in at least one frame for auditability
File naming convention: use a consistent format such as JOBID_UNITLOCATION_before.jpg and JOBID_UNITLOCATION_after.jpg. That structure makes retrieval fast and keeps the before after gallery organised without manual sorting.
Which layouts work best on each platform
Use interactive sliders on your website and side-by-side or animated formats for social feeds. Sliders increase time on page and create a clear reveal of cleaning quality; static side-by-side images are better for social scrollers who will not stop to drag a handle.
| Platform | Aspect ratio | Pixel size | Best layout |
|---|---|---|---|
| Instagram feed | 1:1 | a standard pixel size recommended for Instagram feeds | Side-by-side or split |
| Instagram feed (portrait) | 4:5 | a common pixel size for portrait Instagram feeds | Side-by-side |
| Stories / Reels | 9:16 | a typical pixel size for stories and Reels | Animated GIF or MP4 |
| 2:3 | a suggested pixel size for Pinterest pins | Side-by-side | |
| Website embed | Any | Full width | Interactive slider |
| Facebook / blog | 16:9 | a typical pixel size used for Facebook or blog posts | Side-by-side or split |
Mobile-optimised formatting is critical because most clients view this content on smartphones. Vertical and square formats consistently outperform landscape on social feeds. Export animated GIF or MP4 for social motion content, and use an HTML embed for interactive site sliders.
How to edit and brand photos without losing credibility
Minimal editing is the rule. Adjust exposure and contrast to reveal detail; do not apply filters that alter the colour of dirt or dust, as that undermines the credibility of the image.
Editing and branding steps:
- Adjust brightness and contrast on-device using the phone's native editor or a local browser tool
- Add a small logo, job date, job ID and a short service label (e.g. "coil clean") using Canva templates for quick branded posts
- Keep labels small and placed in a corner so they do not obscure the comparison area
- Save a full-resolution master (PNG or high-quality JPG) before exporting compressed web copies
- Export compressed JPEG copies for social; keep the master for job records and audits
Canva provides free square, portrait and vertical templates ready for logo and label overlays. For privacy, prefer tools that process images locally in the browser so client property photos are never sent to a third-party server.
Pro Tip: Export two versions from every job: a high-resolution master for the job record and a compressed web copy for marketing. That keeps load times low without sacrificing auditability.
Privacy, consent and secure storage in Australia
Always obtain client permission before photographing their property and explain clearly where the images will be used. Retain a record of that consent, either a signed form or a written note in the job record.
Practical steps:
- Use device encryption and automatic local backups
- Limit cloud uploads to platforms with Australian data residency or explicit data agreements
- Prefer browser-based tools that process images locally, with no server upload required
- Tag files with job ID and property owner reference; set a retention period consistent with your business policy
- Restrict staff access to stored images to those assigned to the job
Consent note technicians can read aloud: "I'm going to take a few photos of the unit before and after cleaning for our job record. These may be used in our marketing materials. Are you happy for us to do that?"
The Australian Privacy Principles apply when images identify a person or a specific property. Treat client property photos as personal information and handle them accordingly. This article provides general guidance; confirm your obligations with a qualified privacy professional for your specific situation.
Step-by-step workflow: capture to publish
A consistent workflow means every technician produces usable images without additional instruction.
- Prep and mark — note the unit location, mark the floor position, confirm consent.
- Capture before shots — full resolution, exposure locked, filename with job ID and "before."
- Clean the unit — complete the service as normal.
- Capture after shots — same position, same lighting state, filename with "after."
- On-device edit and export — adjust exposure, add branding overlay, export compressed copy.
- Upload master to secure storage — attach to the MyAirCare job record.
- Publish web and social copy — post the compressed version; link the job record in MyAirCare for follow-up.
Before closing the job, check:
- Before and after frames align on fixed reference points
- Lighting is consistent across both shots
- Filenames follow the job ID convention
- Consent is recorded in the job notes
- Master image is attached to the job record
Pro Tip: Use MyAirCare's automated follow-up emails to send the branded after photo to the client with the invoice. That single touchpoint reinforces the value of the service and prompts repeat bookings.
Printable quick-start checklist for technicians
Save this list as a PDF on the mobile home screen or in the company app for offline access.
- Phone charged, storage cleared, full resolution set
- Marker tape or reference point noted
- Lighting state decided (all on / all off)
- Grid overlay on, HDR off, portrait mode off
- Client consent obtained and recorded in job notes
- Before shot taken: filename includes job ID and "before"
- After shot taken: same position, same lighting
- Quick exposure/contrast edit applied on-device
- Branding overlay added (logo, date, service label)
- Master uploaded to job record; compressed copy exported for marketing
Key takeaways
Consistent before and after photos require matched camera position, identical lighting, on-device processing for privacy, and integration with a job management system so images remain linked to the booking record.
| Point | Details |
|---|---|
| Match position and lighting | Camera angle and light state are the two non-negotiables; if either differs, the result looks like a perspective change, not a cleaning outcome. |
| Use the right format per platform | Square (1:1) for feeds, portrait (4:5) for higher engagement, vertical (9:16) for stories, and interactive sliders for your website. |
| Process images locally | Browser-based tools that keep photos on-device reduce privacy risk and remove the need for third-party server uploads. |
| Record consent every job | Note client permission in the job record before shooting; Australian Privacy Principles apply to images that identify a property or person. |
| MyAirCare workflow integration | Attach the master image to the MyAirCare job record and use automated follow-up emails to send branded after photos with invoices. |
Why standardised photos are worth the extra two minutes
The businesses that get the most value from before and after documentation are not the ones with the best cameras. They are the ones that do the same thing on every job. A consistent process, even a simple one, produces a library of comparison images that compounds over time. Six months of documented jobs gives a business genuine social proof, a before after gallery for the website, and visual evidence for commercial tenders.
The common mistake is treating photography as optional, something done only when the result is dramatic. That approach misses the point. Clients cannot see inside a coil or a drain pan. Every clean is an opportunity to show work that would otherwise go unnoticed. The businesses that document consistently are the ones that can justify their pricing, win repeat bookings, and compete for larger commercial contracts where documented results are often a requirement.
MyAirCare keeps your photos connected to every job
Capturing great images is only half the process. The other half is making sure those images are attached to the right job, sent to the right client, and available when you need them for a quote or a tender. MyAirCare connects job records, image storage and client communications in one place, so photos do not end up in a camera roll with no context.

Attach before and after images directly to each job, trigger automated follow-up emails with the branded after photo included, and manage payments securely via Stripe, all from the mobile app. For businesses bidding on commercial work, job-linked photo records provide the documentation that larger clients expect. Start with a free plan and see how the workflow fits your operation, or book a demo to walk through the photo and job management features directly.
Useful tools and sources
- DIYProject.ai Before & After Photo Maker — browser-based tool for sliders, GIFs and MP4 exports; no sign-up required.
- Toolnar Before & After Slider — local processing only; images never leave the device; exports PNG/JPG and interactive embeds.
- BeforeAfterly — privacy-focused comparison tool; images stay in browser memory with no server upload.
- Canva Before & After Templates — free square, portrait and vertical templates for branded social posts.
- MyAirCare platform — job record management, image attachment, automated follow-ups and secure payments for Australian air-con cleaning businesses.
- MyAirCare pricing — free and paid plan details for operators.